A thread is leaking: what to do, in order
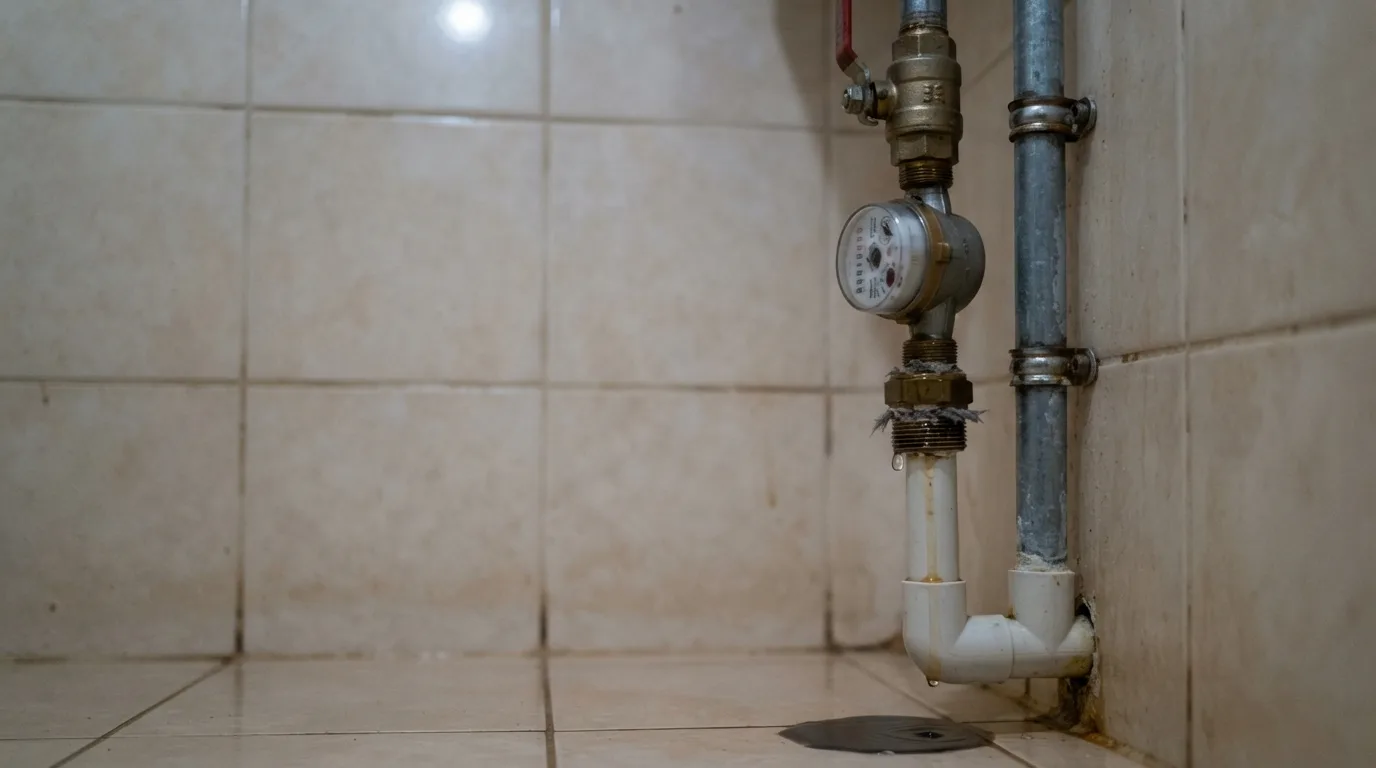
The first five minutes
- Close the nearest valve towards the inlet. If it's pouring, close the main valve for the flat.
- Kill the power to that area if water is near sockets, a washing machine or a dishwasher. Breaker first, bowl second.
- Switch the water heater off before you shut the cold supply: an element left running in an emptying tank burns out in minutes.
- Put a bowl under it and dry everything around the joint: you can't find the source on one big wet patch.
- Hold a dry tissue against the joint for a minute — it shows where the drop actually gathers.
- Water from under a swivel nut means the gasket. Along the thread means the sealant. Out of the body of the part means a crack, and that part is only replaceable.
When it isn't your job
The riser, the valve on it and everything up to your first isolating valve usually belong to the building, not to you. A riser can only be shut from below — in the basement or the service floor — and that leaves the whole vertical stack of flats without water, which is why it's the building's emergency service that does it.
- The riser itself, a weld on it or the thread of its valve is leaking — call it in, don't touch it.
- Water coming from the flat above or out of the ceiling slab — again a call-out and a report, not a spanner.
- The riser valve won't hold and you have nothing to isolate your flat with — call it in; they shut the riser from below first, then replace it.
- While you wait: close whatever you can downstream, mop up and warn the neighbours below.
Working on a riser yourself doesn't just risk flooding the building: the whole liability for what follows lands on you.
Where the water is coming from
Before you reach for a spanner, identify the source — everything else follows from it:
A dry tissue held against the joint for a minute tells you which of the three branches is yours.
What can be tightened and what can't
| Where it leaks | Tightenable? | What to do |
|---|---|---|
| Union / swivel nut | yes, gently | a quarter turn with two spanners: one holds the body, one turns the nut |
| Thread sealed with PTFE | with the thread — sometimes; backwards — never | if it leaks, the tape is torn: safer to strip and rewrap |
| Thread sealed with flax or cord | yes, a little | tighten with the thread, never back it off |
| Compression fitting | yes | tighten the nut using two spanners |
| Press fitting | no | cut it out and press a new one |
| Body of a brass part | no | a crack means replacement |
Temporary fixes that genuinely hold
- A repair clamp with a rubber pad on a straight run — holds until a planned repair, but not on a joint.
- Resin plumber's bandage: water-activated, wrapped onto a pipe that has been shut off, sets in 20–30 minutes and reaches full strength in about an hour.
- Emergency epoxy putty — only on a dry surface, and only until the section is replaced.
No temporary fix is designed to hold mains pressure for months. It buys time; it isn't a repair.
What not to do
Common questions
A threaded joint is leaking — can I just tighten it?
It depends on the sealant. Flax and cord, yes — a little, in the direction of the thread. PTFE tape — sometimes a touch in the tightening direction, never backwards; once it leaks, the joint comes apart and is rewrapped. A union nut takes a quarter turn with two spanners. A press fitting or a cracked body cannot be tightened at all, only replaced.
What should I do in the first five minutes?
Close the nearest valve towards the inlet, kill the power to the area if there are sockets or appliances nearby, and switch the water heater off before you shut the cold water. Then wipe everything dry and hold a dry tissue against the joint — it will show you where the drop actually gathers.
When should I call the emergency service instead of turning a spanner?
The riser, its valve and everything up to the first isolating valve in your flat usually belong to the building, not to you. A leak there, or water coming from the flat above, is a call to the building's emergency line and a written report, not a job for your spanner. While they are on the way, close what you can further down the system and warn the neighbours below.